Scenario: A wooden fence post has rotted and needs to be replaced. The post is set in concrete, and the fence panels are attached to the post using screws.
Materials you will need:
- Shovel
- Post-hole digger
- Pry bar
- New wooden fence post
- Concrete mix
- Gravel
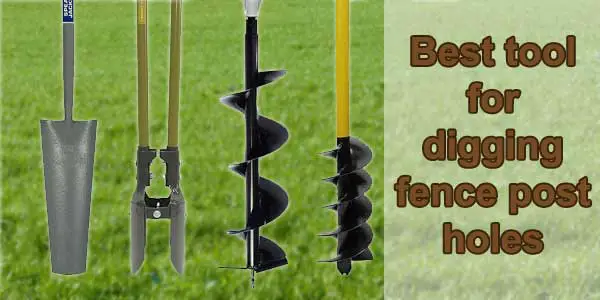
Step 1: Remove the fence panels or rails attached to the post. This can typically be accomplished by unscrewing the panels or rails from the post using a drill or screwdriver.
- Before you start, gather all the necessary tools and equipment, including a drill or screwdriver, screws, and a safe place to store the fence panels or rails.
- It’s important to be careful while removing the fence panels or rails to avoid damaging them. You may want to have a helper to hold the panels or rails in place while you remove the screws.
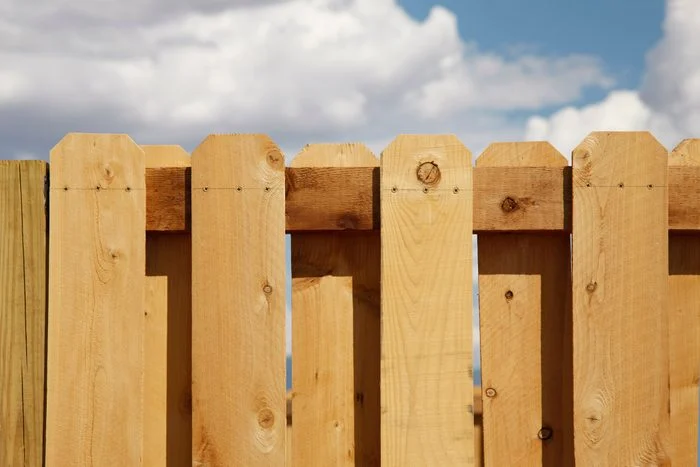
- Use a drill or screwdriver to remove the screws that attach the fence panels or rails to the rotted post. Depending on the type of fence, there may be several screws that need to be removed.
- Once the screws are removed, gently lift the fence panels or rails away from the post. You may need to wiggle them a bit to loosen them.
- Be sure to set the fence panels or rails aside in a safe place where they won’t be damaged or in the way while you work on removing the rotted post.
- Check the remaining fence posts and panels for any signs of damage or wear and make any necessary repairs before reattaching them to the new post.
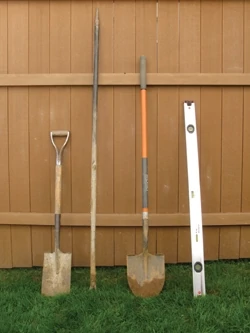
Step 2: Dig around the post using a shovel or post-hole digger. Dig deep enough to expose the bottom of the post and the concrete footing. In this scenario, the concrete footing is approximately 2 feet deep.
- Before you start digging, be sure to wear appropriate safety gear, such as gloves and eye protection.
- Use a shovel or post-hole digger to start digging around the rotted fence post. Be careful not to damage any nearby fence panels or posts.
- Dig deep enough to expose the bottom of the post and the concrete footing. In this scenario, the concrete footing is approximately 2 feet deep, so you’ll need to dig until you reach this depth.
- As you dig, be sure to remove any dirt or debris from the hole. You can use a small shovel or your hands to do this.
- If you encounter any roots or rocks while digging, you may need to use a pry bar or a rock bar to remove them.
- If you’re having trouble digging through the soil, you may need to use a pick or a digging bar to break up any hard or compacted soil.
- Be sure to take breaks as needed and stay hydrated while digging.
- Once you’ve dug around the post and exposed the concrete footing, you’re ready to move on to the next step.
Step 3: Use a pry bar to loosen the post and remove it from the ground. Insert the pry bar between the post and the concrete footing and gently pry the post loose. If the post is still attached to the concrete footing, use a sledgehammer to break up the concrete and remove it from the hole.
- Before you start, make sure you have a sturdy pry bar and a sledgehammer. You may also want to wear heavy-duty gloves and eye protection.
- Remove the broken concrete pieces from the hole as you go, using a shovel or your hands.
- Once the concrete is broken up and removed, you should be able to pull the rotted fence post out of the ground.
- Be sure to inspect the hole for any remaining debris or rocks, and remove them as needed.
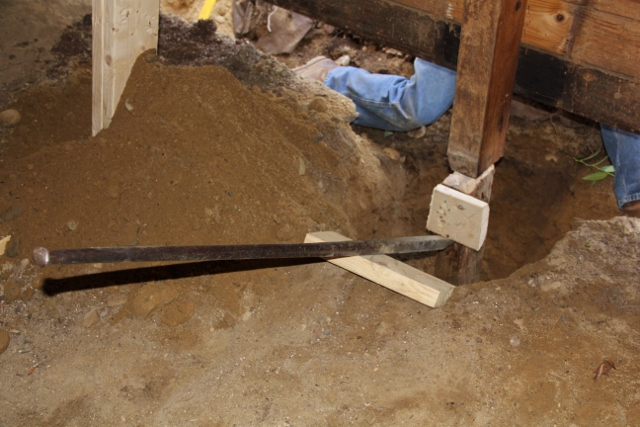
- Insert the pry bar between the rotted fence post and the concrete footing. Position the pry bar so that it’s as close to the post as possible.
- Use the pry bar to gently loosen the post from the ground. Rock the pry bar back and forth to apply pressure to the post and help break any roots or soil that may be holding it in place.
- Be patient and work slowly, as you don’t want to damage the fence panels or any other part of the fence.
- If the post is still firmly attached to the concrete footing, use a sledgehammer to break up the concrete. Start by tapping the sledgehammer lightly to create small cracks in the concrete, then gradually work your way around the footing, breaking it up into smaller pieces.
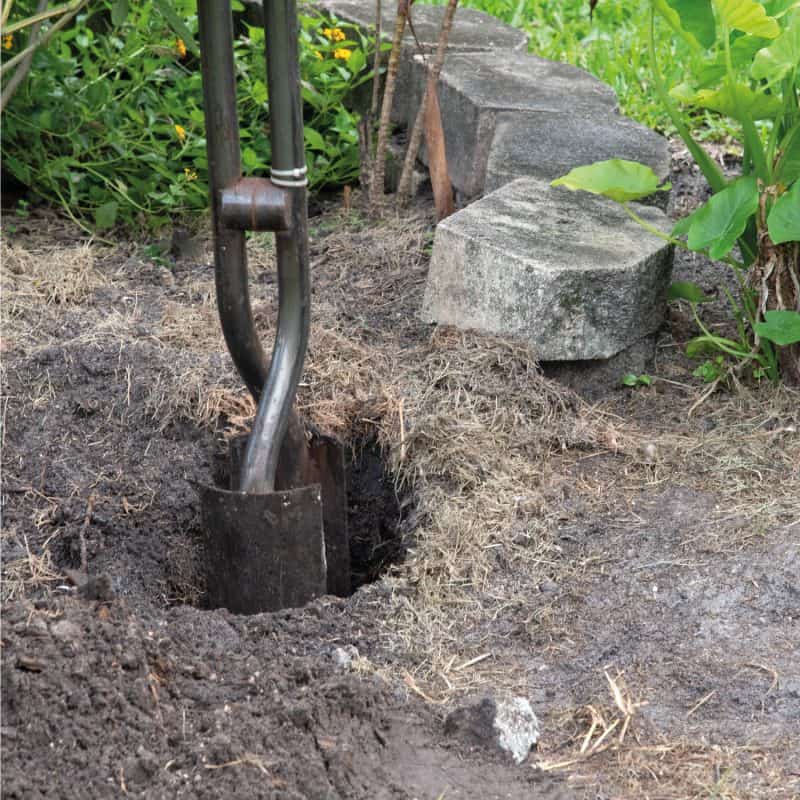
Step 4: Use the post-hole digger to remove any remaining dirt or debris from the hole. Remove any large rocks or roots that may interfere with the placement of the new post.
- After you have removed the rotted fence post and broken up and removed any concrete footing, you will need to clean out the hole to prepare it for the new post.
- Use a post-hole digger to remove any remaining dirt or debris from the hole. Start at the bottom of the hole and work your way up, making sure to remove any rocks or roots that may interfere with the placement of the new post.
- Be sure to remove any large rocks or roots that could prevent the new post from being properly anchored in the hole.
- As you remove the dirt and debris, use a shovel or your hands to place it in a nearby wheelbarrow or other container for easy disposal.
- Once you’ve removed all the dirt and debris, use a level to make sure the bottom of the hole is level and flat. If necessary, use a tamper to pack down the soil at the bottom of the hole.
- Take a break and drink plenty of water before moving on to the next step.
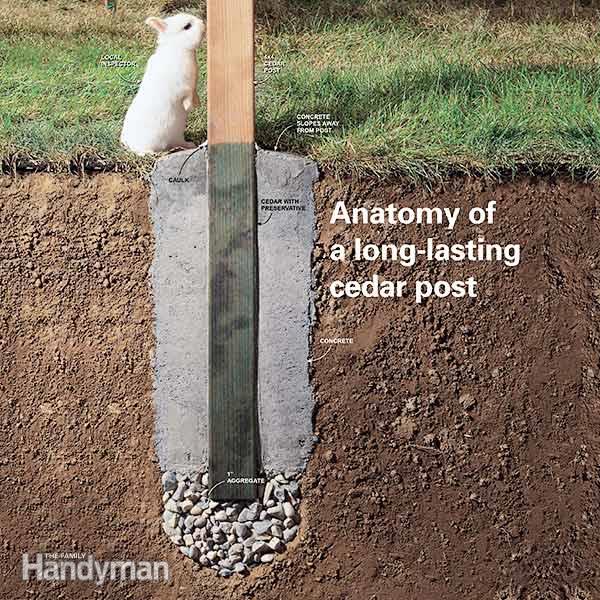
Step 5: Add a layer of gravel to the bottom of the hole to improve drainage. In this scenario, we add approximately 4 inches of gravel to the bottom of the hole.
- Adding a layer of gravel to the bottom of the hole can help improve drainage and prevent water from pooling around the new post.
- For this step, you will need to purchase enough gravel to cover the bottom of the hole to a depth of about 4 inches. You can find gravel at most hardware or landscaping stores.
- Carefully pour the gravel into the bottom of the hole, making sure it is evenly distributed.
- Use a tamper or the back of a shovel to pack the gravel down and create a level surface. This will help prevent the gravel from shifting when you add the new post.
- If necessary, use a level to check that the gravel is evenly distributed and the surface is level.
- Take a moment to double-check that the hole is clean and free of debris before proceeding to the next step.
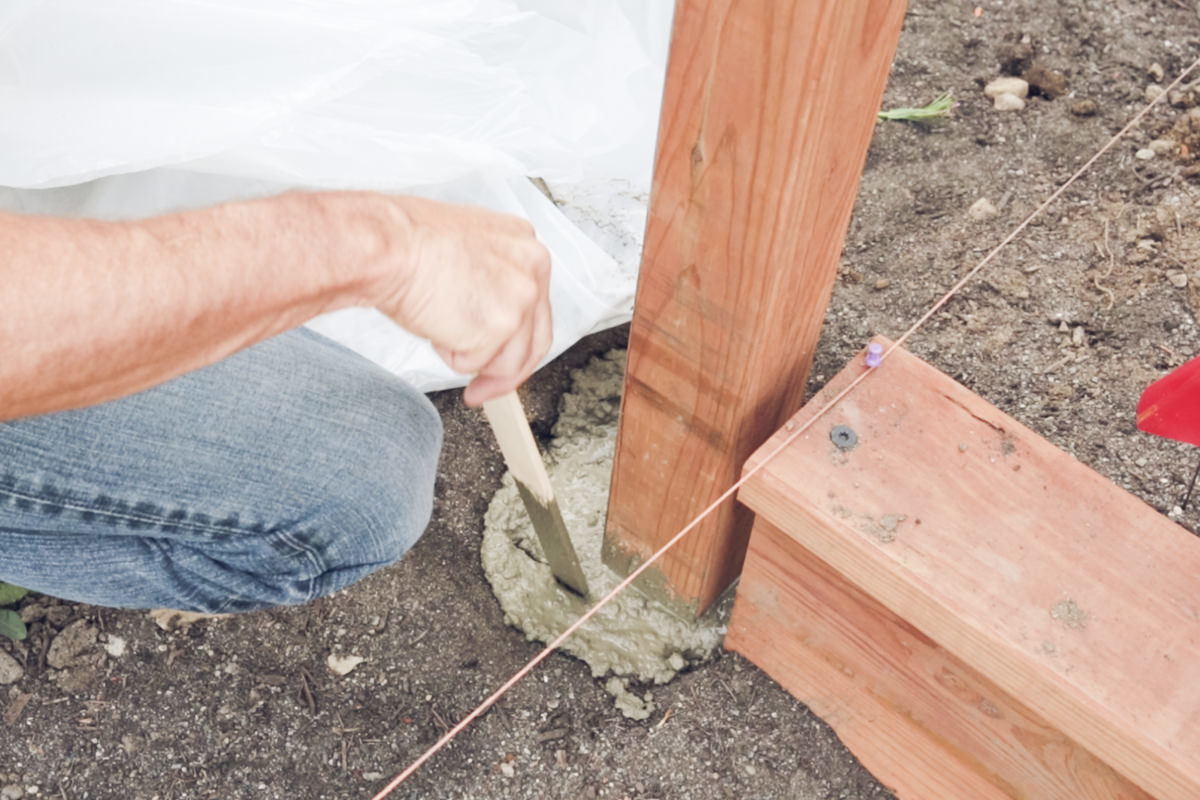
Step 6: Place the new wooden fence post in the hole and make sure it is level. Use a level to ensure that the post is straight and level. Adjust the post as necessary to achieve the desired position.
- Carefully place the new wooden fence post in the hole, making sure it rests on the layer of gravel you added in Step 5.
- Use a level to ensure that the post is straight and level. Place the level on two adjacent sides of the post to check for plumb and
- adjust the post as necessary to achieve the desired position.
- If the post is not level, use a shovel to remove some of the gravel from one side of the hole to create a level surface for the post.
- Once you have achieved the desired position, use wooden stakes to brace the post and hold it in place while you backfill the hole with dirt.
- Check the post again with the level to make sure it has not shifted during this process.
- Once you are satisfied that the post is straight and level, you can move on to the next step.
Step 7: Mix concrete according to the instructions on the bag and fill the hole around the new post, leaving a few inches at the top. In this scenario, we mix the concrete in a wheelbarrow according to the instructions on the bag and pour it into the hole, filling the hole to approximately 2 inches from the top.
- You will need to purchase concrete mix and a wheelbarrow to mix and transport the concrete.
- Read the instructions on the bag of concrete mix carefully and follow them to prepare the mix. Depending on the brand of concrete mix, you may need to add water or other ingredients to the mix before it is ready to use.
- Use a shovel or mixing tool to combine the concrete mix and water in the

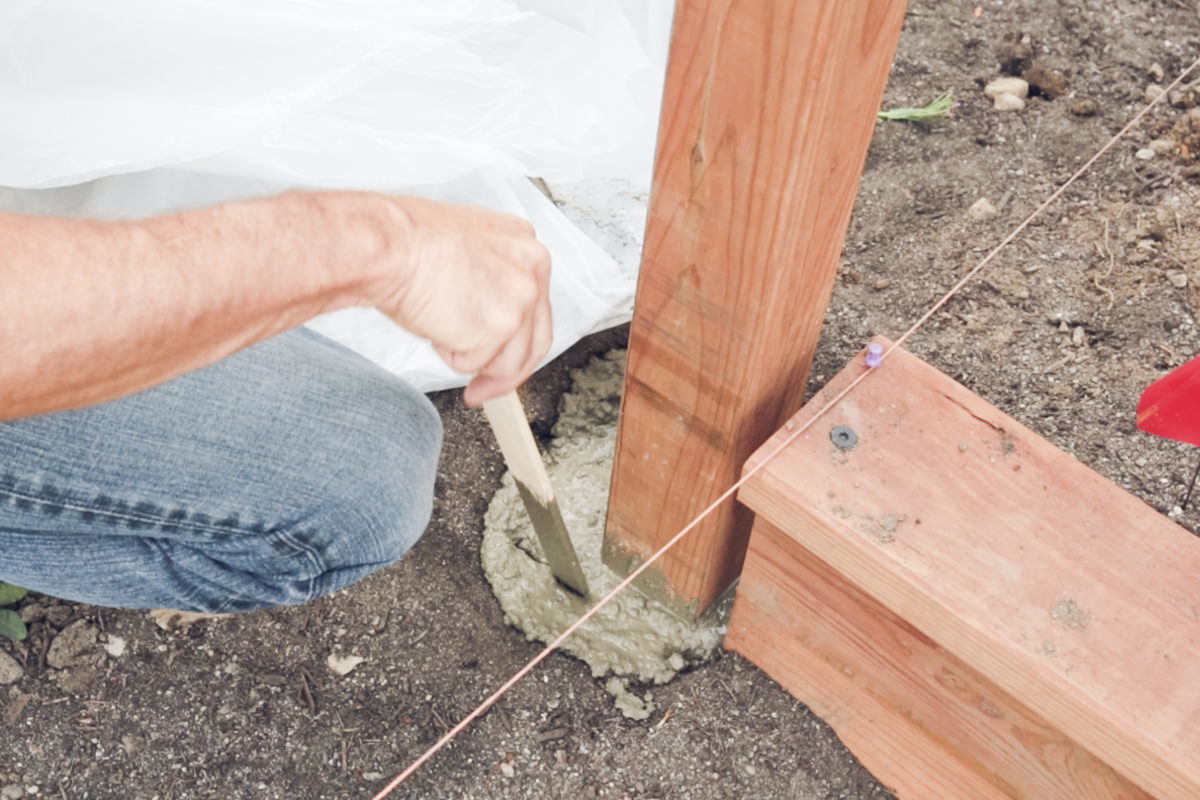
Step 8: Use a level to ensure that the post is still straight and adjust as needed. Check the level of the post in both directions and adjust as necessary before allowing the concrete to dry.
- Wait until the concrete has dried for several hours or according to the instructions on the bag before checking the level of the post.
- Use a level to check the plumb of the post in both directions. Place the level against two adjacent sides of the post to ensure that it is straight and level
- If the post is not straight and level, use a shovel or pry bar to carefully shift the post and adjust its position.
- It is important to make these adjustments while the concrete is still wet, as it will be more difficult to move the post once the concrete has fully dried.
- Once you have adjusted the post to the correct position, use a tamper or the back of a shovel to pack the concrete around the post and eliminate any air pockets.
- Recheck the level of the post to make sure it is still straight and level before allowing the concrete to fully dry.
- It is important to allow the concrete to fully dry and set according to the instructions on the bag before putting any weight or stress on the post. This can take anywhere from a few hours to a full day, depending on the brand of concrete mix and the weather conditions.
- Once the concrete has fully dried and set, you can reinstall the fence panels or rails that you removed in Step 1
Step 9: Allow the concrete to dry according to the manufacturer’s instructions before reattaching the fence panels or rails. In this scenario, we wait approximately 24 hours before reattaching the fence panels or rails.
- It is important to wait until the concrete has fully dried and set before reattaching the fence panels or rails. This can take anywhere from a few hours to a full day, depending on the brand of concrete mix and the weather conditions.
- The manufacturer’s instructions on the bag of concrete mix will provide
- specific guidance on how long the concrete needs to dry before it can bear weight or be subjected to stress.
- In this scenario, we wait approximately 24 hours before reattaching the fence panels or rails. This allows enough time for the concrete to fully dry and set.
- Once the concrete has dried, carefully reinstall the fence panels or rails using the same screws or hardware that you removed in Step 1.
- Make sure that the fence panels or rails are securely attached to the new post and that the post is straight and level.
- After reattaching the fence panels or rails, check the entire fence line to make sure that it is straight and level. You may need to make minor adjustments to other posts or panels to ensure that everything is aligned correctly.
- Finally, stand back and admire your handiwork! A newly replaced fence post can provide years of support and stability for your fence, ensuring that it will withstand wind, weather, and other environmental factors.

Recent Comments